Fronius Wi-Fi Reconnect
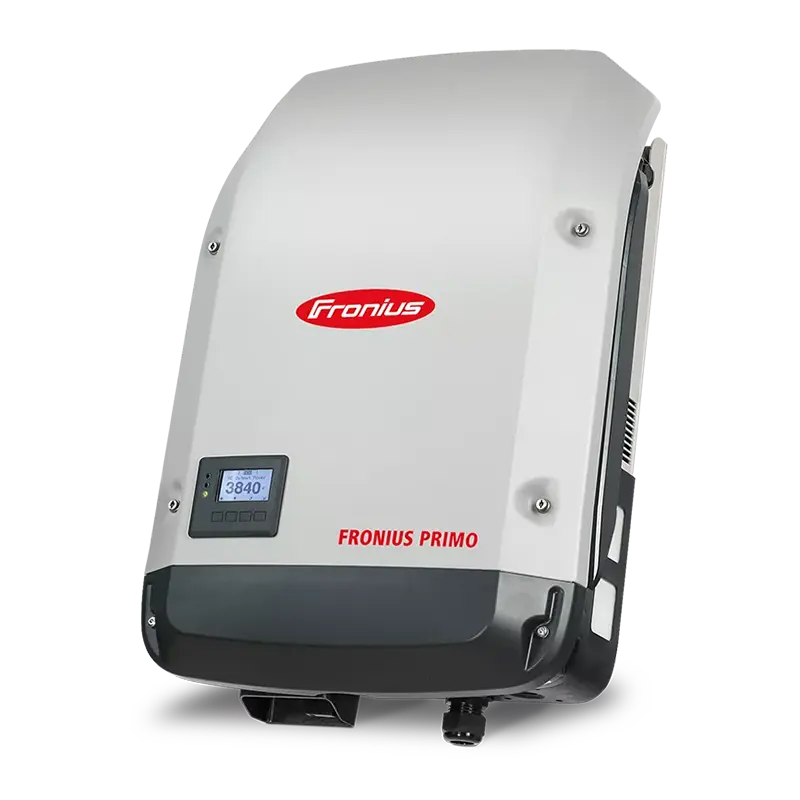
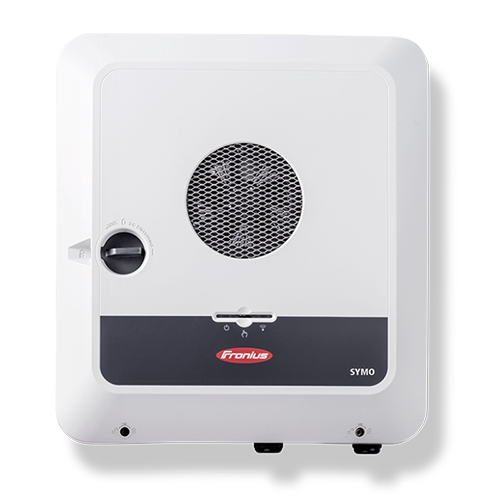
Fronius Primo/Symo Series
1. Prepare your setup
Confirm that your home WiFi network is functioning correctly — test it by connecting with your phone or tablet.
Have a laptop or tablet available, as completing the setup on a larger screen is usually easier.
If you’ve updated your internet provider, modem/router, WiFi network name (SSID), or password, your inverter will need to be reconnected using the new credentials.
2. Activate the inverter’s WiFi access point
On the inverter display, press the Back or Menu button to access the Setup menu.
Navigate to: Setup → Wi-Fi Access Point → Activate/Enable.
Your inverter will begin broadcasting a WiFi network that starts with FRONIUS_240.XXXXXX.
The default WiFi password is typically 12345678, unless a different password is printed on the inverter label or your installer has supplied a custom one.
3. Connect your device to the inverter’s hotspot
On your phone, tablet, or laptop, open the WiFi settings and select the network beginning with FRONIUS_240.
When prompted, enter 12345678 (or the specific password provided for your inverter).
4. Access the inverter’s web interface
After connecting to the inverter’s hotspot, open a web browser like Chrome. In the address bar, type 192.168.250.181 and press Enter.
When the Fronius interface loads, sign in using the Customer login (or Installer if that applies to you).
If you’re unsure of the password, reach out to your solar installer for help.
5. Configure your home WiFi network in the inverter
In the web interface, navigate to Settings → Network (or Communication → Network, depending on the inverter model).
Scroll to the bottom of the Network Settings menu and choose the new WiFi network you want the inverter to connect to.
After selecting your network, click Set.
Enter your WiFi password, then select Save or Apply.
When prompted, confirm that you want to apply the new settings (look for a tick or checkmark icon).
6. Verify the connection
On the inverter screen, navigate to Setup → Network → Status. Verify that the inverter has a valid IP address — if it displays 0.0.0.0, the connection has not been established.
You can also check the connection by logging into your Fronius Solar.web monitoring portal and confirming that live data is updating.
7. Troubleshooting tips
If your inverter is receiving a weak signal, try relocating your WiFi router closer or consider using a WiFi extender.
Ensure the WiFi password has been entered accurately, including any capital letters or special characters.
If the inverter still fails to connect, restart the process from Step 2 and attempt the setup again.
Ongoing connection problems may require a firmware update or assistance from your installer or Fronius Support.

Fronius GEN24 and GEN24 Plus Series
1. Check your WiFi signal
Confirm that your home WiFi network is functioning correctly — test it by connecting with your phone or tablet.
Have a laptop or tablet available, as completing the setup on a larger screen is usually easier.
If you’ve updated your internet provider, modem/router, WiFi network name (SSID), or password, your inverter will need to be reconnected using the new credentials.
2. Try a power cycle first
If you haven’t recently changed internet providers, try power cycling the inverter before reconfiguring the WiFi.
Switch off the AC supply using the main switch or the solar inverter circuit breaker.
Switch off the DC supply using the isolator located next to the inverter.
Allow the inverter to fully shut down, then turn the DC back on, followed by the AC.
After the inverter restarts, check for a solid blue light — this indicates it has reconnected to your WiFi.
If the blue light doesn’t appear, proceed with the next steps to reconnect manually.
3. Activate the inverter’s WiFi access point
On the inverter, press and hold the middle button until the WiFi indicator above the icon starts flashing.
This switches on the inverter’s built-in WiFi hotspot.
4. Connect your phone or tablet to the inverter's hotspot
On your device, open the WiFi settings and find the network that begins with FRONIUS_240.XXXXXX.
Select it to connect.
The default password is 12345678.
Wait until your phone shows a checkmark or “connected” status before moving on.
5. Access the inverter’s web interface
Open a web browser — Chrome or Safari is recommended.
In the address bar, enter 192.168.250.181 and press Enter.
The inverter’s local interface will load, displaying system bubbles and live data.
6. Log in to communication settings
Tap the menu icon (the three horizontal lines, often called the “hamburger” icon) in the top-right corner.
Select Communication.
Choose Customer as the login role.
Enter your customer password. This password is supplied by your installer after the system is installed.
7. Configure your home WiFi network
After logging in, open the menu again and choose Network.
Make sure your phone is still connected to the Fronius WiFi network.
In the middle section of the page, select Wi-Fi.
A list of available home WiFi networks will appear.
Tap your home WiFi name, enter your WiFi password, and save the settings.
Once the connection is successful, the inverter will automatically switch over to your home WiFi network.
8. Confirm connection
Wait a short moment, then check the inverter’s indicator light:
- Solid blue light — the inverter is connected to WiFi.
- Flashing light — it is still attempting to establish a connection.
You can also confirm the connection by logging into Fronius Solar.web and checking that your system data is updating.
9. Troubleshooting tips
If the inverter cannot detect a WiFi signal, consider installing a WiFi extender or using an Ethernet connection if available.
Double-check that your WiFi password is correct — remember it is case-sensitive.
If the connection still doesn’t establish, restart the inverter and repeat the process beginning from Step 3.
For persistent issues, reach out to your installer or Fronius Support for assistance.
